
Clock Myths eXPOSED
Myth (mith), N. Any account, theory, belief, etc. that is unscientific or otherwise invalid.

You Cannot Set the Hands on a Clock bACKWARDS
This is mostly false but can also be true. There is no one rule that can apply to every clock! So many of my customers are shocked when they see me move the hands backwards on their clocks. They often say, “I didn’t know you could do that!” Well, in most cases you can. In the last sixty or seventy years more than 95% of the clocks manufactured have been designed so that you can safely move the minute hand counterclockwise. The designers of the movements knew that many clock owners would attempt to backset the hands, so to avoid damage they incorporated into the design a mechanism that allows it to be done safely. Almost without exception, the majority of modern era clocks can be backset. This includes key-wound wall and mantle chiming and or striking clocks, cuckoo clocks, grandfather clocks, anniversary clocks and even most battery clocks.
The clocks that cannot be backset safely are usually older clocks, especially most early American clocks made until about 1920. If you attempt to backset a clock that is not designed to allow you to do so, upon reaching a certain point, the hand will simply lock up. If you try to force it you will damage the mechanism or the hand, so be smart and don’t do it! Clocks that cannot be backset are set by moving the minute hand only, clockwise only. If you have a chiming clock that cannot be set backwards you should stop at each quarter hour as you move clockwise, to let it chime before moving on. If you have a striking clock that cannot be set backwards you should stop at each striking point, always the hour and sometimes the half hour.
For the most part you should never move the hour hand independently of the minute hand. If you do this on most chiming or striking clocks you will throw the strike out of synch with the hands. An exception would be if you were resynchronizing the strike, like you might on a clock with a count wheel striking mechanism (sometimes found in older clocks) or if someone else had moved the hour hand accidentally and you were simply putting it back where it belonged.
To sum this up, pay attention to your qualified clockmaker when he is explaining to you the proper operation of the clock. This person should know what is best and will instruct you on proper hand setting. Of course, you can always consult your owner’s manual if you have one.

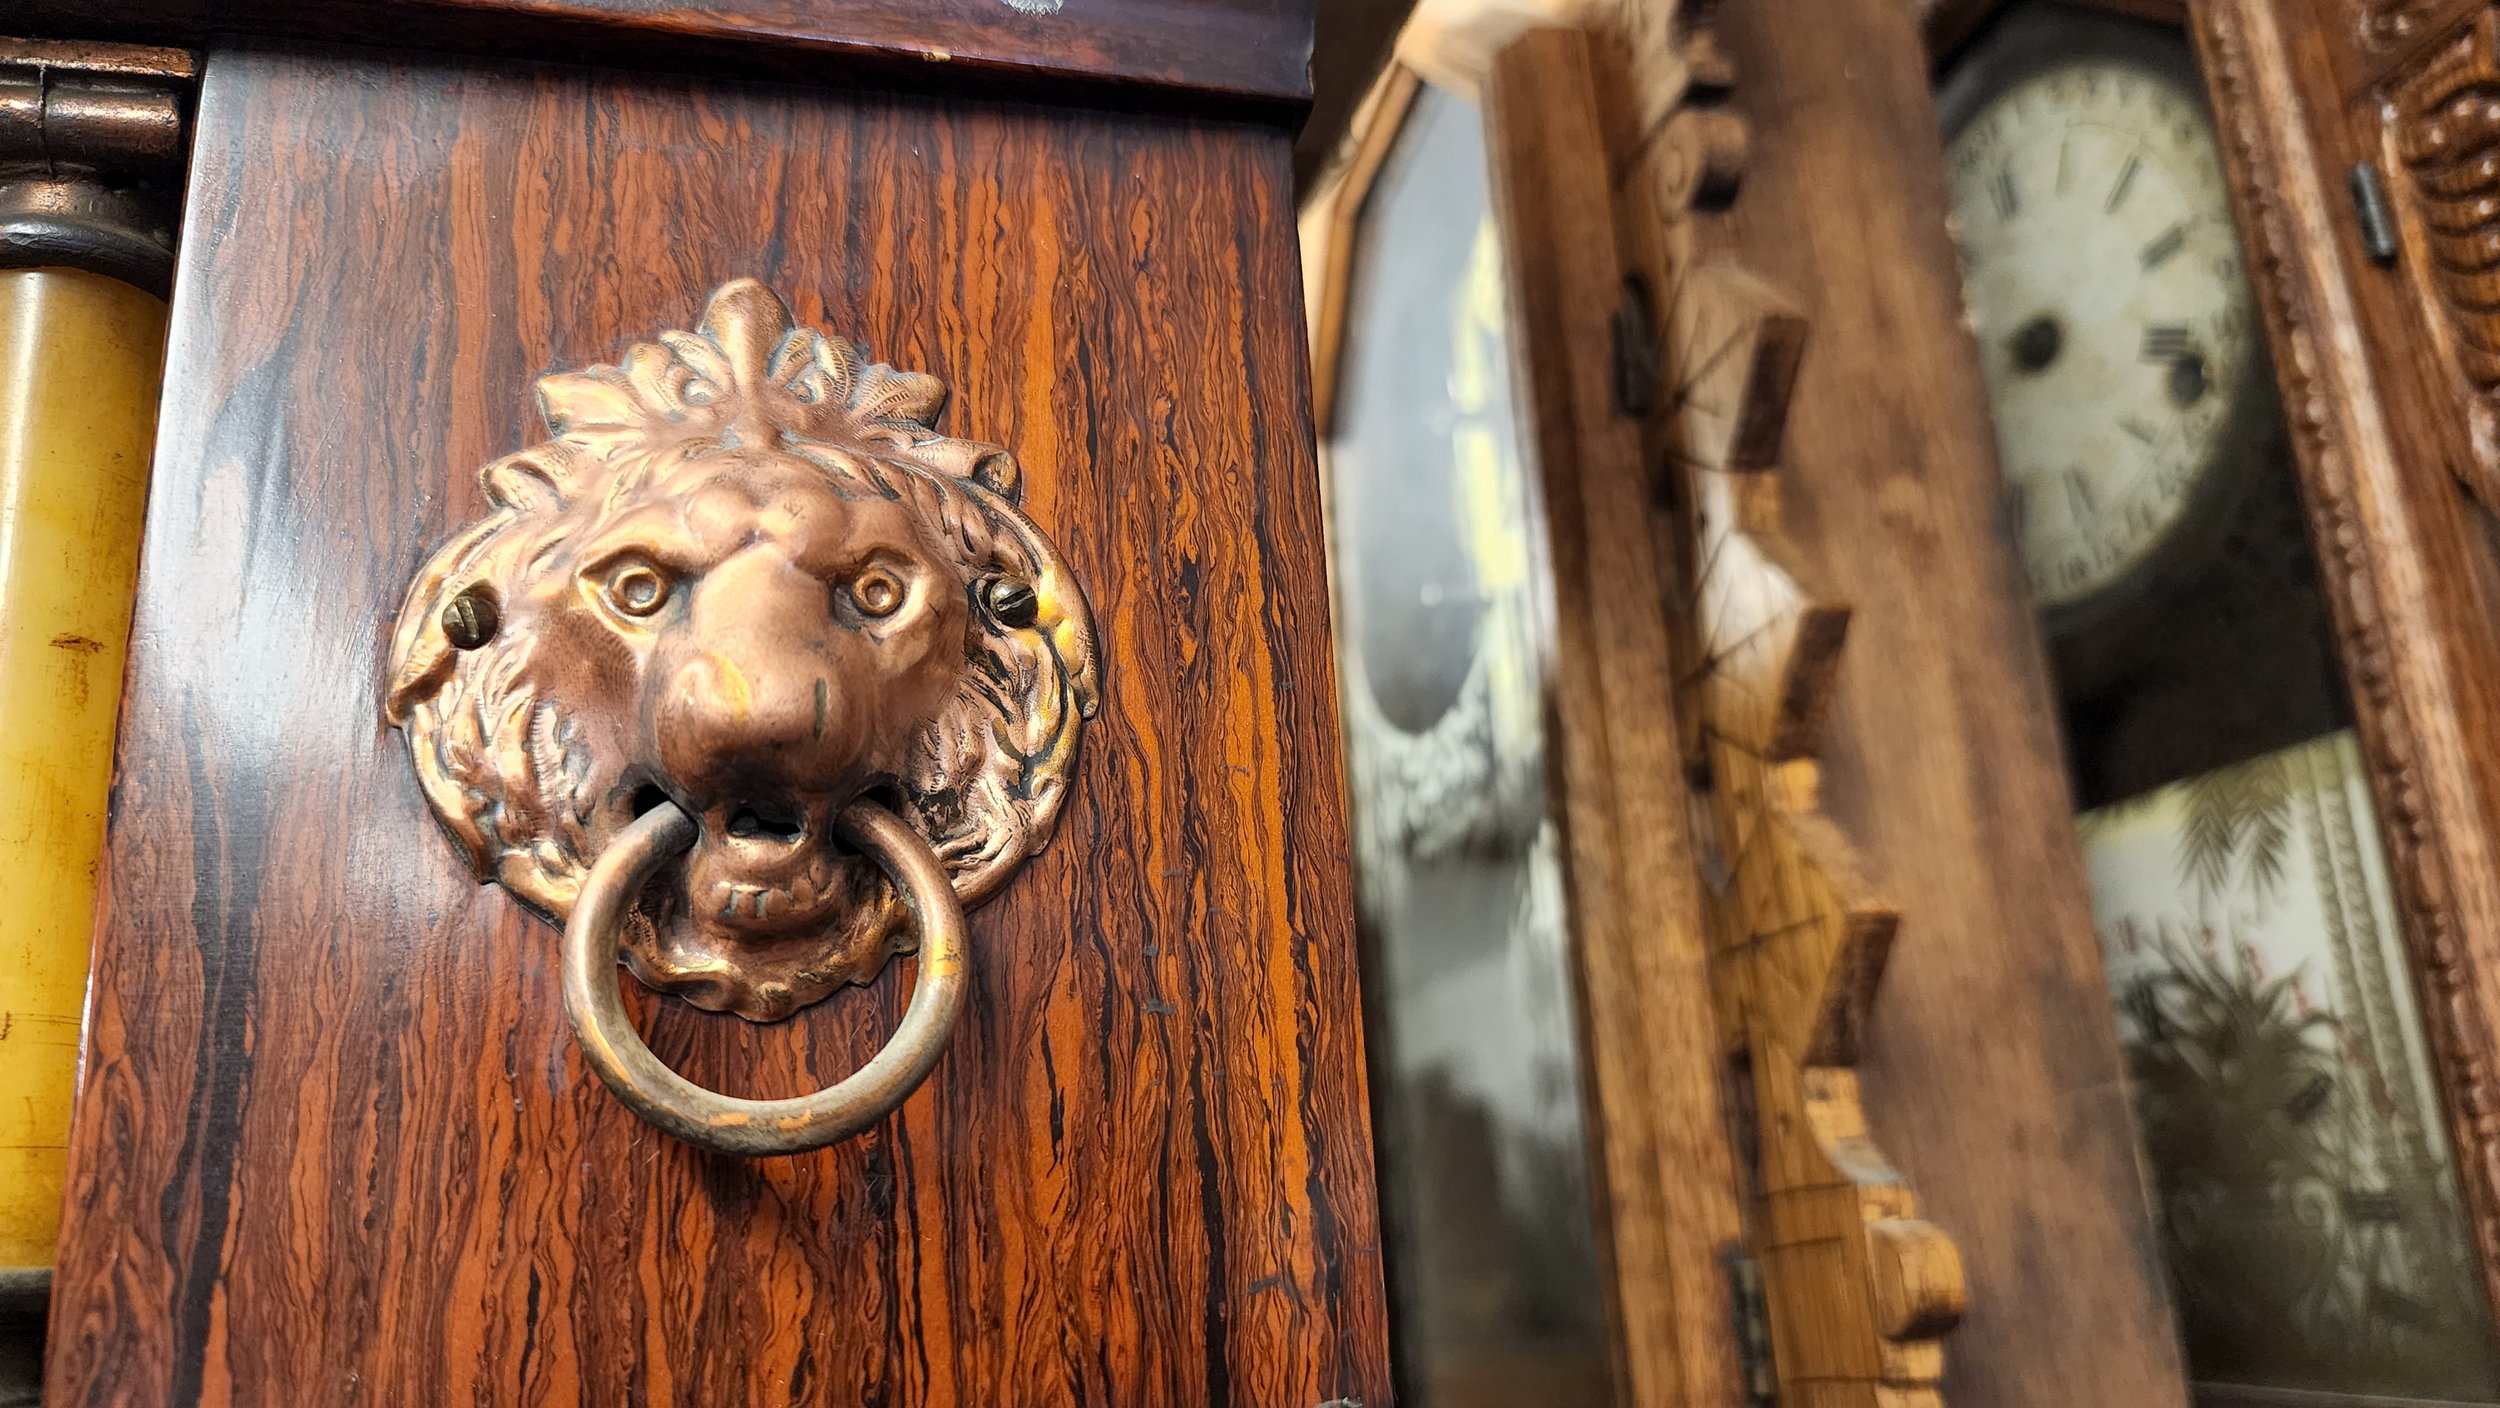
Collection of Antique Mantel Clocks
A Clock Must Be Level to Run
False. The truth is, a clock must be “in beat” to run. The “beat” of a clock refers to the sound a clock makes when it ticks. When a clock is “in beat” the tick and the tock will be evenly spaced like the sound a metronome makes or when you clap your hands evenly to a song. A clock that is crooked can run fine if the beat is set for that position, providing the pendulum doesn’t rub or bump anything. However, because a clock looks best when it sets level, the clockmaker will level the clock and then set the beat for that level position. Once he has done that correctly, he then instructs the owner to level the clock once it gets home. The point is, normally, the level and the beat go hand and hand. The level is simply a tool to help us achieve the proper beat (assuming it was set correctly in the first place).
Important point! If the clock is level but the beat is not correct, you must manipulate the clock, out of the level position, until you hear the beat sounding evenly or take it to your local clock shop for adjustment.
When setting up clocks for my customers in their homes it is not always practical to level the clock. For instance, when a grandfather clock is standing near a doorway which is not square, or when the wall behind it has lined wallpaper which was installed crooked. In these instances, the clock will look crooked even though in reality it is not. In this case I level the clock with my eye or using the lines on the wallpaper as a guide or measuring over from the doorway at both the top and bottom of the clock. This way, although a level will show the clock to be crooked it still looks level. In this case, appearance is what is most important providing the pendulum is not bumping or rubbing anything inside the case. From this position the beat will then be adjusted so as to be correct or “even” and the clock will run fine. The same thing can be done on a wall clock hanging in a similar situation. In the case of mantle clocks where they sit on a crooked mantle, shelf or dresser, etc., if the customer prefers not to shim it into a level position, I simply reset the beat for that particular surface if I happen to be in their home.
Most modern grandfather clocks have what is called a “self-adjusting beat”. In this case, as long as the clock is stable and somewhere close to level, it will run fine. You don’t even need a clockmaker to set the beat for you. Simply over swing the pendulum slightly and the beat will set itself.
Of course, this myth applies mostly to clocks with swinging pendulums. Those that have floating or platform balances and are in good repair can run fine without any concern for level. If it is close enough to look good, that is good enough.
A final factor: Where pendulum clocks are concerned, especially weight driven floor clocks, stability is extremely important. A clock that has a tendency to wobble, such as those free standing on carpet, may sometimes stop for what appears to be no reason at all. The cause is something called “sympathetic vibration” or “sympathetic motion”. The unstable clock case is able to pick up the motion from the swinging pendulum. This will eventually cause the weights hanging in the case to begin to swing slightly, generally occurring when the weights reach a point somewhere near the level of the pendulum disc. The weights tend to swing in a direction opposite that of the pendulum. If this occurs the clock will eventually stop. This leads us into the next myth.
Putting a Board Under Your Floor Clock Will Stabilize It
False. Unless you screw the board through the carpet into your floor, the board will not provide the stability you are after. The board (or piece of marble etc.) will tend to “float” on the carpet even with the heavy clock standing on it. When you set the clock on the board, the weight of the clock is distributed onto the many square inches of the board, therefore the board never really settles into the carpet. Without the board, the weight of the clock is distributed among the four feet or levelers found under most modern grandfather clocks. For example, a board that is 18 x 16 inches has 216 square inches to carry the weight. In contrast, the four levelers combined, only have about 4 square inches. The levelers will settle much deeper into the carpet, providing greater stability. For maximum stability the clock should be allowed to contact the wall in some way. This is easy if your clock is setting in front of a flat wall. In this case the front levelers should be lowered in such a way as to allow the clock to lean against the wall. Once this is achieved simply place a small shim, equal to the thickness of your baseboard, behind the clock towards the top. This gives the appearance that the clock is not actually contacting the wall and also holds the clock in a “front to back” level position.
Unfortunately, when a clock sets in a corner at an angle this is not always feasible. If you try the same thing here the only thing that contacts the wall are the top corners of the clock giving you nothing to hide the shim behind. Sometimes you won’t need the shim because when the corners meet the wall it is not leaning back so far as to look silly anyway. If it does lean back too far the only choices left are either to come up with some sort of bracket that you can hide, either behind or on top of the clock or you can simply add some sort of weight into the bottom of the clock case. Adding weight helps to settle the clock further into the carpet. When we add weight we want to be sure to add a sufficient amount. A pound or two usually won’t do it. Ideally ten pounds or more is better. Some things that work well are large pieces of lead (because of their density), a bag of play sand, or even weights from a barbell set. Of course this is only practical if you have an area in the bottom of the clock large enough to hide it, or some nice way to cover or disguise it.
Special note: For older clocks without levelers built into the case, small, thin wooden shims cut about one inch square can achieve the same results. An old yard stick works wonders. You can stack as many are necessary to achieve the lift you need. If you stack them, it is a good idea to tape or glue them together first so that the shims do not slide on each other.
You Cannot Place a Clock on an Outside Wall
False. I have heard this many times from many customers yet none of them know why it would matter. In spite of this, they still believe it. The only thing I have been able to come up with is that it is a carry over from times past when homes were poorly insulated. In some older homes the walls can get rather cold in the winter. This cold, transferring to the clock case, might affect its timekeeping accuracy or perhaps damage the case. In other homes, the walls might “sweat” from condensation or leak when it rains. This would not be good for a clock or any other item that you might hang on a wall. I have set up thousands of clocks on outside walls and have never heard a complaint from a single customer that it has caused any kind of problem.
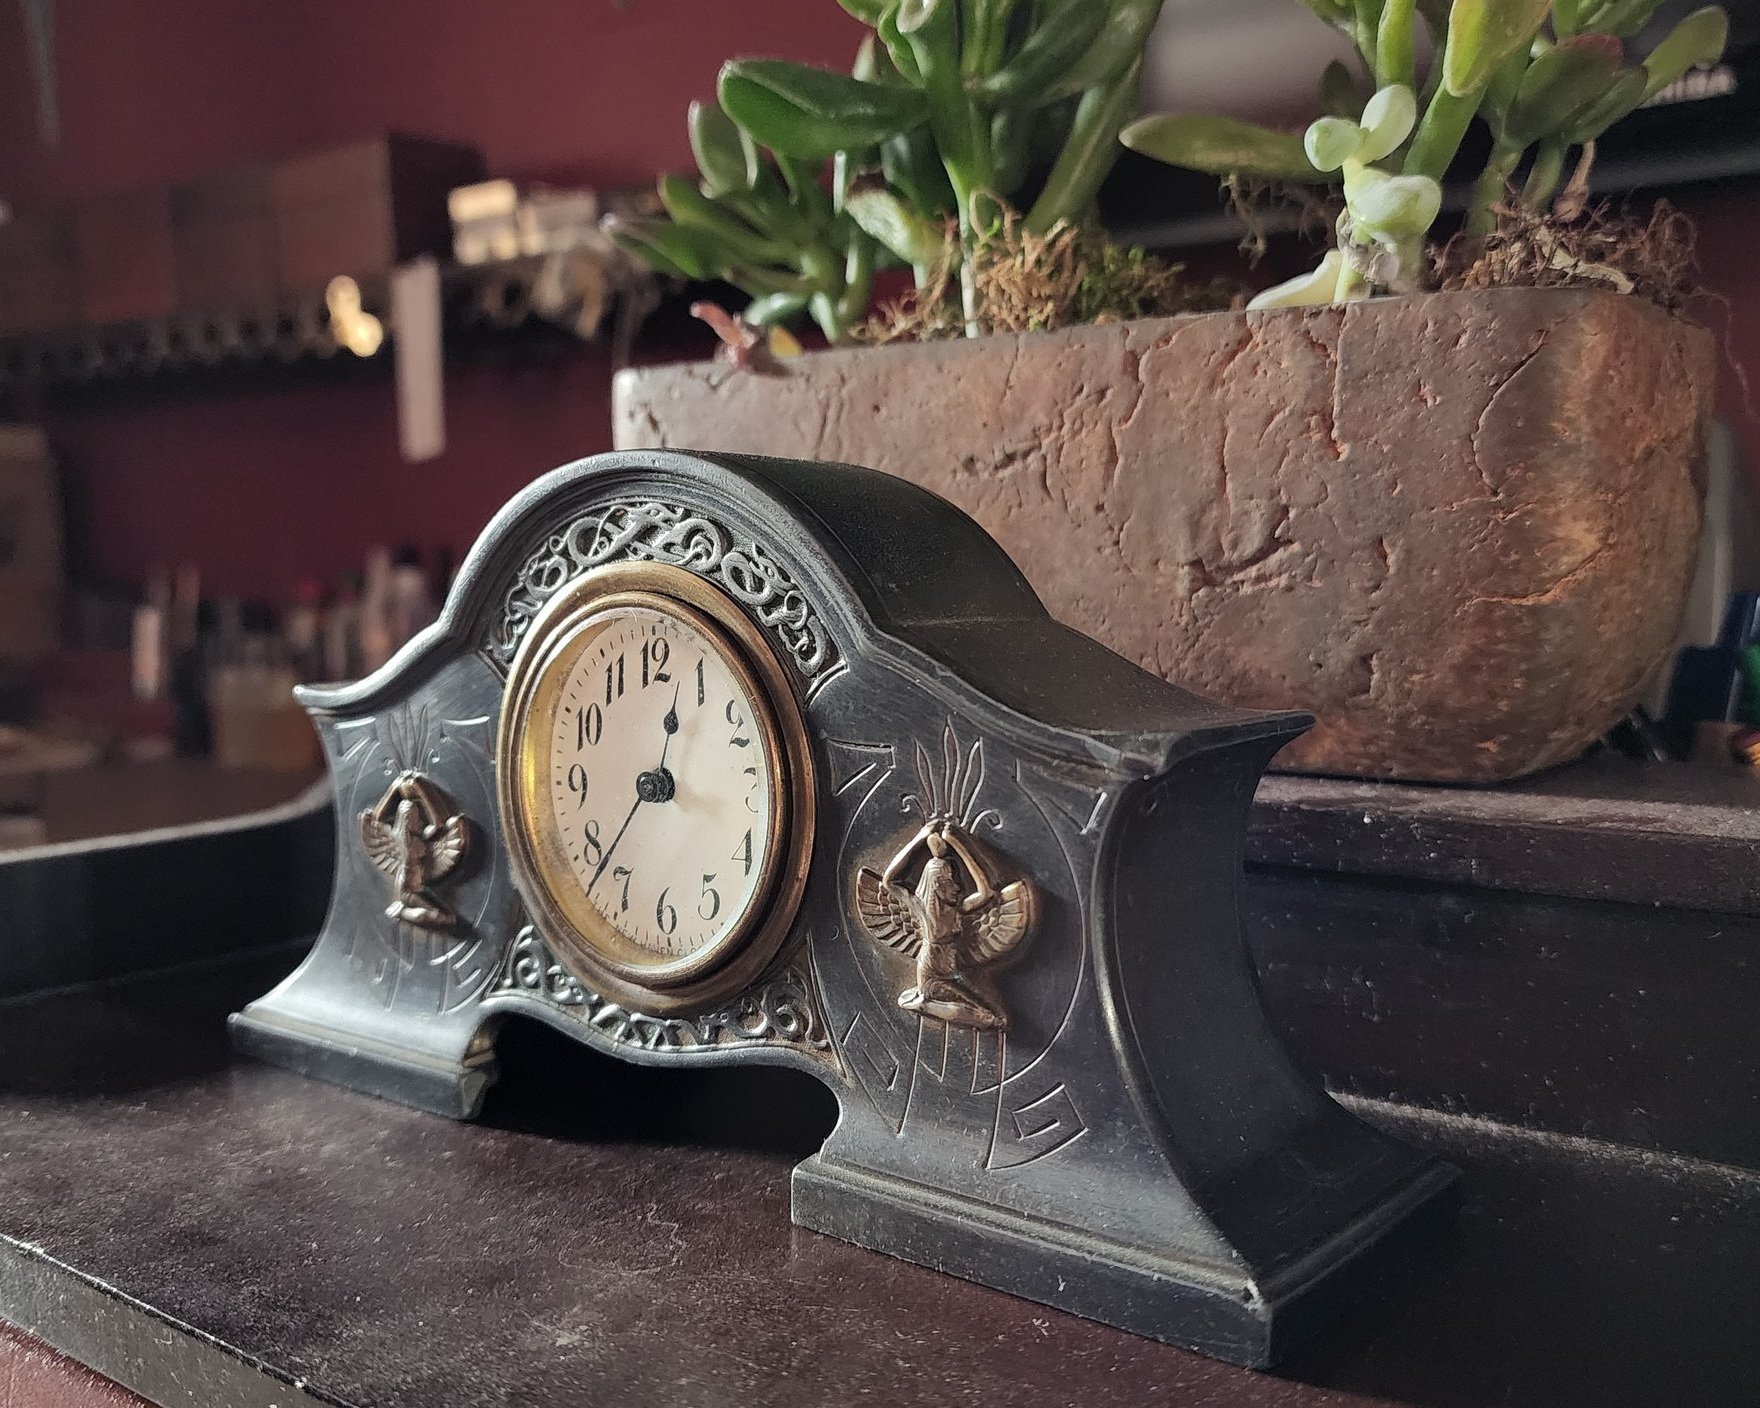
Vintage Egyptian themed table clock
You Must Lift the Weight When Winding a Chain Driven Floor Clock
False. I have made an innumerable number of house calls over the last forty four years because of this myth. They may do it this way for years and get away with it, but inevitably they will eventually knock a weight or chain off. The customer always thinks that they are putting too much stress on the clock when they are only pulling the chain and not lifting the weight. To make a point I often tell them that the weights are hanging there all day putting “stress” on the clock. Did they ever think to lift them off and set them on the floor to relieve the clock? You must remember that the clock is designed to handle this stress. What they don’t understand is that during winding the main wheel arbor is not turning in its bearing surface like it does when it is running. Therefore, winding does not produce the kind of wear that contributes to the clock failing to run. Any wear that does occur, however small, happens between the center of the chain wheel and the arbor it turns on. Because winding the clock takes only a few seconds a week, the wear that occurs is so minimal as to not be an issue. I cannot recall a single repair I have made in the last forty four years that was attributable to someone not lifting the weights during winding. If the customer still insists on lifting the weight or is too weak to be able to pull the chain with one hand, it is okay to lift the weight, but you must be sure you are pulling the chain with more force than you are lifting the weight.
On some clocks I see some of the chain links begin to separate slightly, usually on the side of the chain that the weight hangs on. This is normally caused by the weight hitting the bottom of the movement or the seat board at the top of the wind causing the stretching affect. When pulling the weight up by the chain you should always stop at least one or two inches from the bottom of the movement or seat board.
Whichever way you wind your clock be sure to avoid touching the brass chains or weights with your bare hands. Many people keep a cloth in the bottom of their clock for this purpose while others use gloves. Anything that will separate the oil on your hands and fingers from the weights and chains will do fine.
A Cap Full of Kerosene Left in the Bottom of the Clock Case will Lubricate the Clock Effectively
About all you are going to get out of this is a clock that smells like kerosene. This idea probably started many, many years ago when people had to be more self-sufficient. If, they had money to pay a clockmaker, there may not have been one around for a hundred miles. The thought here is that the evaporating kerosene would bathe the clock mechanism in its oily vapors. Of course, if kerosene was a proper lubricant, clockmakers would have been using it themselves and they aren’t. Also, oiling a clock properly is a pinpoint procedure. You don’t want oil all over the clock. You want it in specific places. If the evaporating kerosene does what the myth implies, your entire movement, indeed the whole inside of the clock case is going to become coated with this “oily” vapor. This would turn your clock movement into a dust magnet, which is not very desirable.
You Can Wind a Clock’s mainspring Too Tight
False. But before I go on let’s make sure we’re all on the same page. I’m not talking about someone putting a pair of vise grips on the key and trying to force the key forward after the mainspring is obviously wound fully. This is being foolish and certainly can result in damage to the mainspring, the key, and to the clock. The reason I include this myth is because so many clock owners, for fear of winding the clock too tight, will not wind it enough and the clock will not run the full week as designed. I have also left it here till the end because it is an issue that requires much discussion. This may be more information than you need or desire, but I have included it because this is by far the most common reason for a customer to return a recently repaired clock. They wonder why it will not run all week on one winding. The reason? They are not winding it enough! And this, after having already discussed it with them when they picked it up. This is why it is important to listen to your clockmaker when he spends the time to make sure you understand how to properly operate your specific clock.
When a customer picks up a clock from us, we will often demonstrate the winding of the clock. naturally we will discuss some of the points made here to make them comfortable with the idea. Once we are done giving the clock a full wind we say to them, “If during the first week you have the clock at home, it runs all week, but the second week it does not, it is because we wound it fully for you and when you wound it, you did not.”
The following information should make you more comfortable with the winding process. Although we want to wind the clock fully we do not necessarily have to wind it all the way to its very end. However, we do not know exactly where the end is, so how would we know when to stop unless we keep winding until the key can no longer be turned with a reasonable amount of force. Therefore, we will usually wind it until the key, literally, can’t be turned. On some clocks, you will notice a change in the feel or the sound of the winding right before you reach maximum wind. after a few months of winding, you may recognize this change and feel more comfortable stopping at this point. However, this is not required. There is nothing wrong with winding until you cannot turn the key. Just be sure that once you reach that point, you do not continue to attempt further winding. Forcing the key once it can no longer turn will not stop the clock from running but you might hurt your hands, damage the key or tear out the end of the mainspring.
There are two reasons why we “might” want to stop just short of a full wind if possible. If you continually force the key at the end of the wind to make sure it is wound fully it is possible that you might eventually tear the end of the mainspring. This is not likely to happen however to a sensible person because that person would not continually force the key each week.
The second reason concerns the time mainspring only. This is particularly true of those clocks with short pendulums. Even in these cases, what I am about to describe is rarely an issue, but I mention it nevertheless in an effort to reveal all of the facts. Some clocks will have a tendency to run a little fast for the first 24 hours or so when the spring is wound to the very end. This is caused by something called isochronal error. Basically, what this means is that the power output of a mainspring differs from fully wound to almost run down. This changing amount of power output can affect the time keeping accuracy of the clock. Most mainsprings have a little more power than necessary to run the clock for a full week. Because of this, if we stop just short, we will still get our full week’s run. In an ideal situation the clock should never run on its strongest point of the wind, nor should it run on its weakest point. Some spring driven clocks in the past actually had something called “Geneva” stops attached to the winding arbors in order to limit how tight the mainspring can be wound as well as how far it is allowed to unwind.
Discussion continues below.
Now, let’s take a moment to consider how this myth got started in the first place. Most people assume you can over wind a clock because one of three things happened to them. During winding the spring may break, the ratchet may fail (leading people to believe the spring broke when in reality it did not) or the clock may stop after winding.
Occasionally mainsprings do break. It is not unusual for them to break while they are being wound. If this occurs during winding the person immediately jumps to the conclusion that they broke it because they wound it “too tight”. Chances are high; unless they had the vise grips, I mentioned earlier, it is not their fault. Obviously, winding the spring does put stress on it but we have to wind it if we want the clock to operate. If we want it to run for the full length of time it is designed to run (most often - one week) then we must wind it “fully”. Therefore, we cannot avoid winding it just to keep from stressing it, any more than we avoid driving our cars because they might break down. The truth is, sometimes mainsprings break when they are not being wound. The mainsprings in most clocks will never break. I have repaired many clocks with original mainsprings that are a hundred years old. A mainspring usually breaks because a small tear develops over large amounts of time. This tear slowly grows until it reaches its breaking point. Other times, particularly on newer springs the spring has not been heat treated properly especially in the inner coils. Because the spring is too hard in this area, it is also too brittle. A brittle mainspring will break very quickly.
The second occurrence, being a failed ratchet, can have symptoms similar to a broken spring, yet the cause is completely different. The ratchet, or the click (named so because of the sound it makes when being wound) is constantly riding up and down in the ratchet wheel (something that looks like a little circular saw blade). The ratchet pivots on a rivet or screw. Sometimes the rivet or screw works loose, sometimes the spring that forces the ratchet into the ratchet wheel breaks or comes loose and sometimes the tips of the ratchet wear off keeping the ratchet from engaging correctly with the ratchet wheel. The ratchet system is of course designed to keep the spring wound after you let go of the key. When this part of the clock fails, the mainspring unwinds very quickly taking the key with it. If your fingers are anywhere close, which they usually are, it can hurt! To avoid this, it is best to always remain in control of the key. After advancing the key as far as your wrist will allow, and before you let go of it to re-grip it and turn it again, you should ease your forward winding pressure slightly allowing the key to move backwards a small amount until the ratchet engages fully, holding the mainspring and key in place. If you do this and the ratchet does not lock (in other words, the key keeps wanting to reverse itself) the best thing to do is pull the key out of the clock, before you let go of it! Your fingers will thank you. (Using this winding technique is particularly important when winding most modern spring driven clocks made in the last forty years or so. This is necessary due to the manufacturing technique and shape used for many of the modern ratchet and ratchet wheels.) Once again, like the breaking mainspring, rivets can fail and ratchets can become worn, because of the winding process, but we cannot stop winding it in order to keep from stressing these parts of the clock.
Important Tip: Pay attention to the sound of the clicking as you wind. Week after week you get used to that repeated sound. If you hear a distinct change in that sound your ratchet system may be failing. It is best to have this looked at right away. If the system is allowed to fail the rapidly spinning key may hurt you or the very quick and uncontrolled release of the wound spring may damage the clock mechanism.
The last reason people believe this is that sometimes after winding, a clock might actually stop running, or chiming, etc. When this occurs there can be many reasons for it but it is usually attributable to the clock being in bad need of repair to start with. A clock that is worn for instance, when wound to its absolute fullest, may cause the gearing in the worn area to literally lock up. The teeth can become jammed so tight into each other that the power from the mainspring is not able to flow through the gears. This however is no reason to not wind the mainspring “completely” this is a reason to get the clock repaired!
Winding a clock is like putting gas in your car. You can put in just a few gallons, but you will not be able to drive as far. Give a clock half a wind and you will get only half of the designated run time. Saying a clock is wound so tight that it will not run is like saying my car won’t start because the gas tank is full!
I hope this information has been helpful to you. If we can help you with a clock, please be sure to call us.